Set Up Cache Project
Last updated: July 21, 2026
Before configuring remote caching, create an Org and a BuildFetch Cache Project, then issue the Project-scoped Tokens your CI pipelines and developers will use.
Create an Org
Open Orgs from the dashboard, then create an Org.
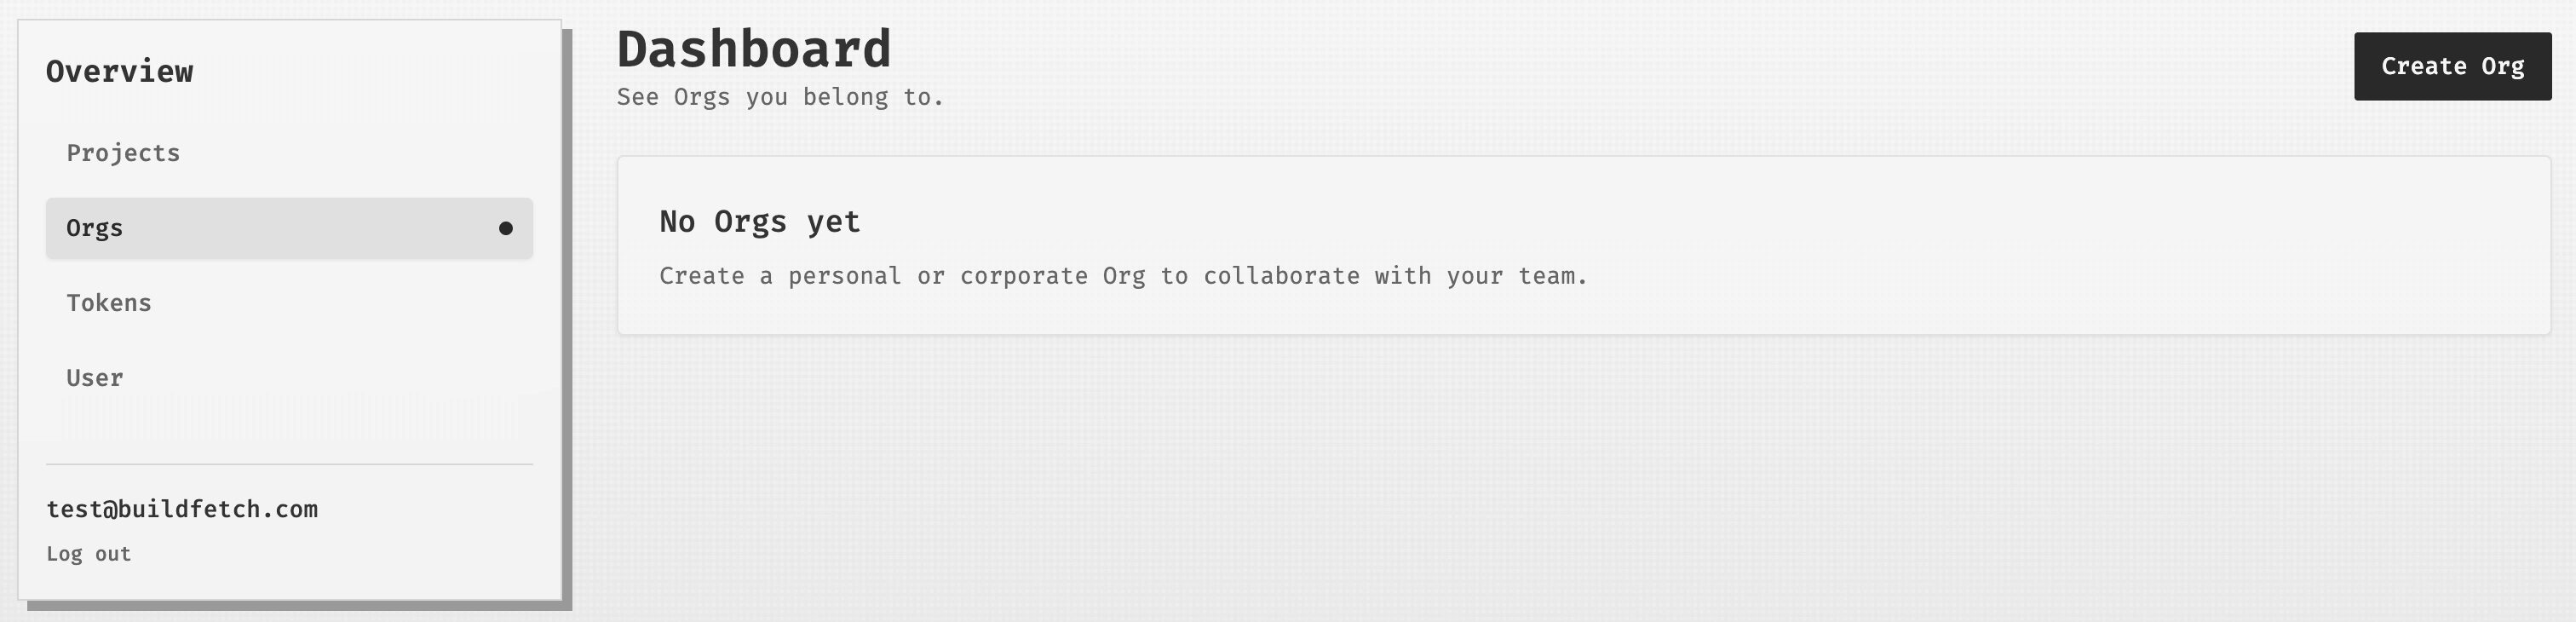 Dashboard Orgs page with the Create Org button
Name the Org, choose the cache plan, then create it.
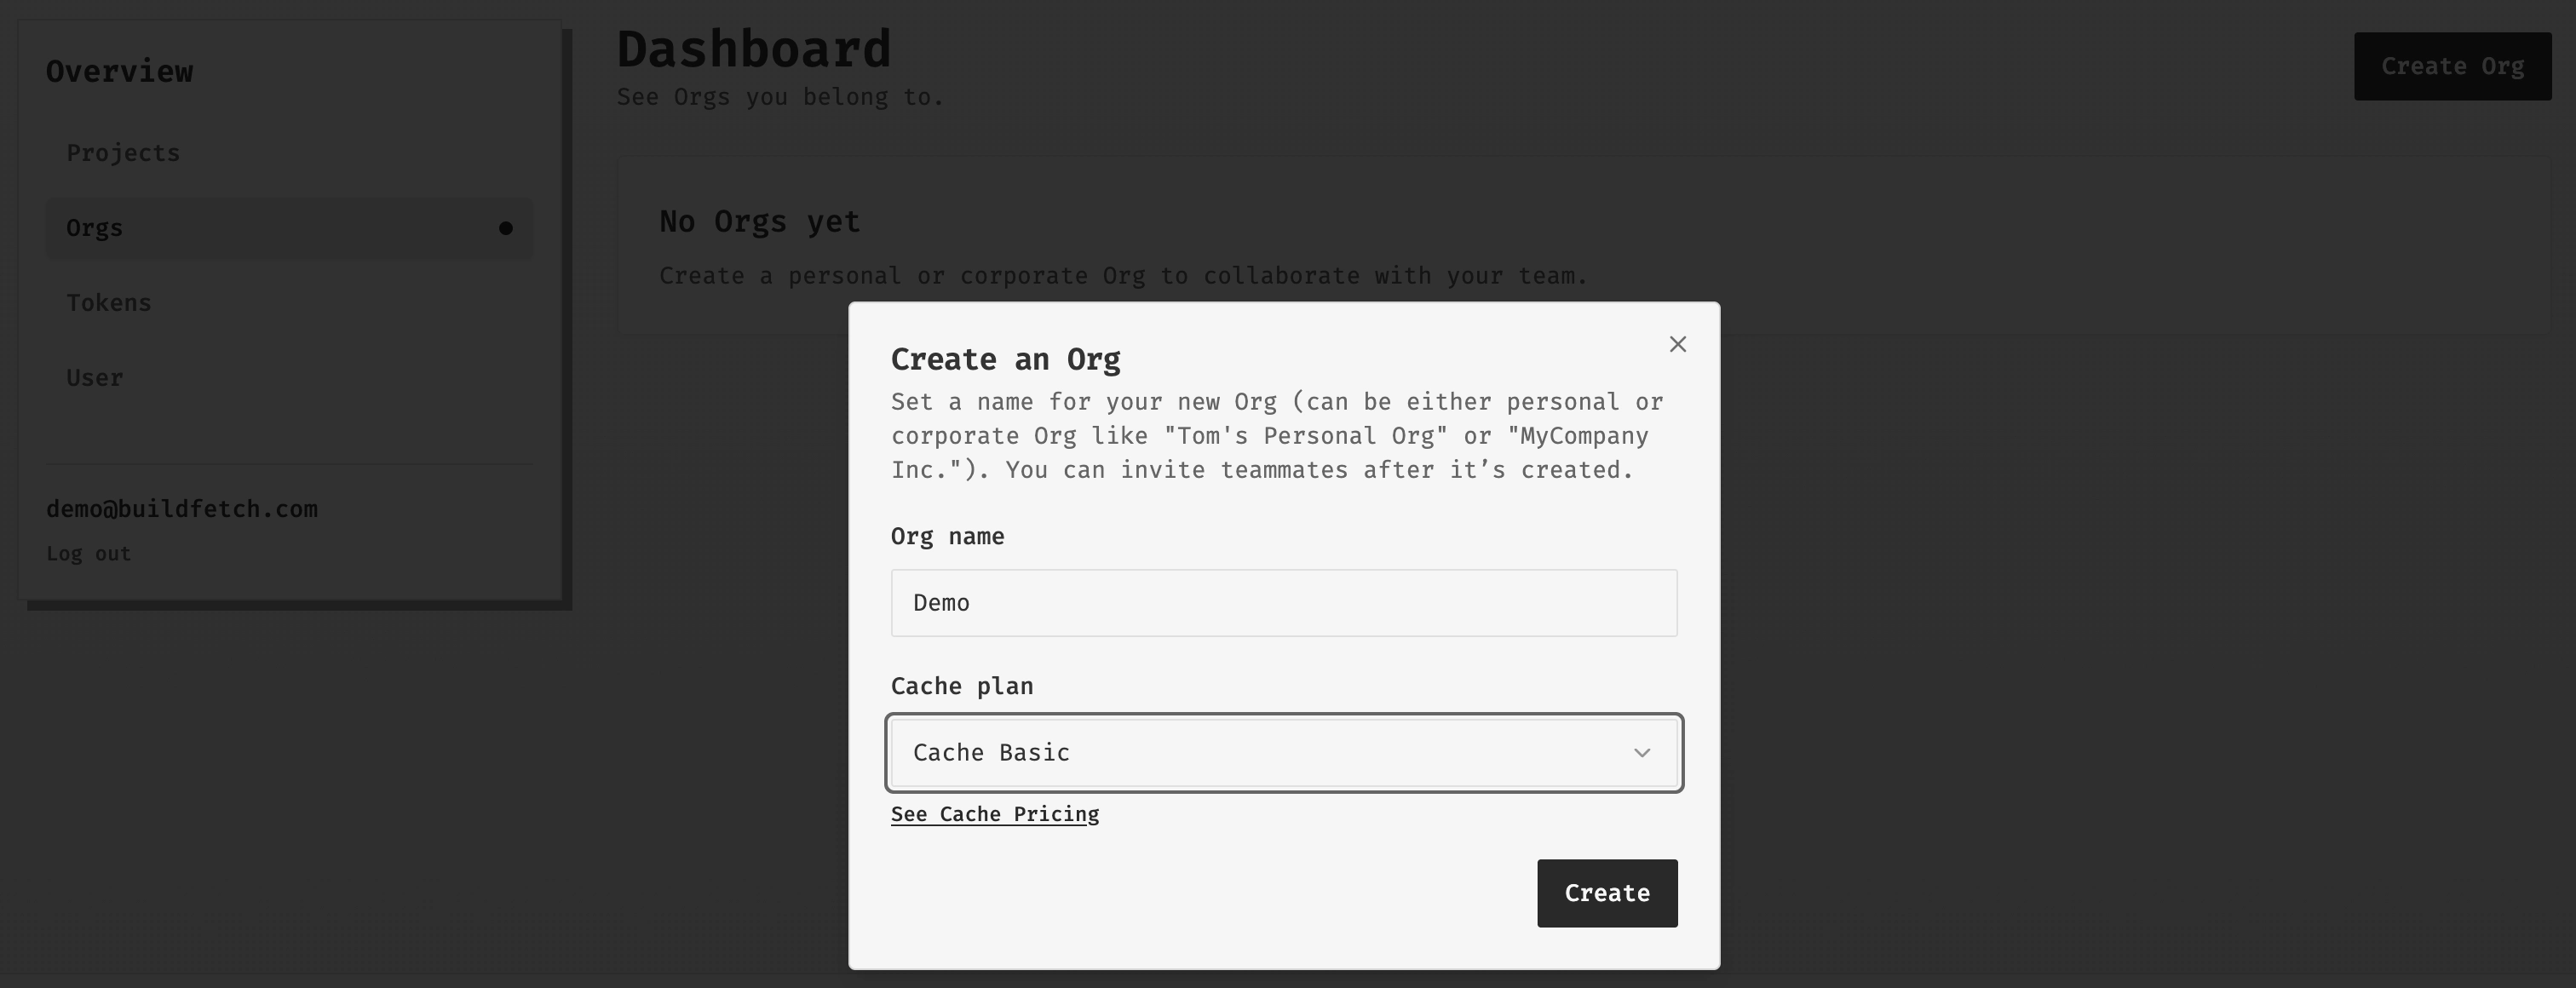 Create an Org dialog with Org name and cache plan fields
After creation, the Org overview shows the Org details and the Projects area.
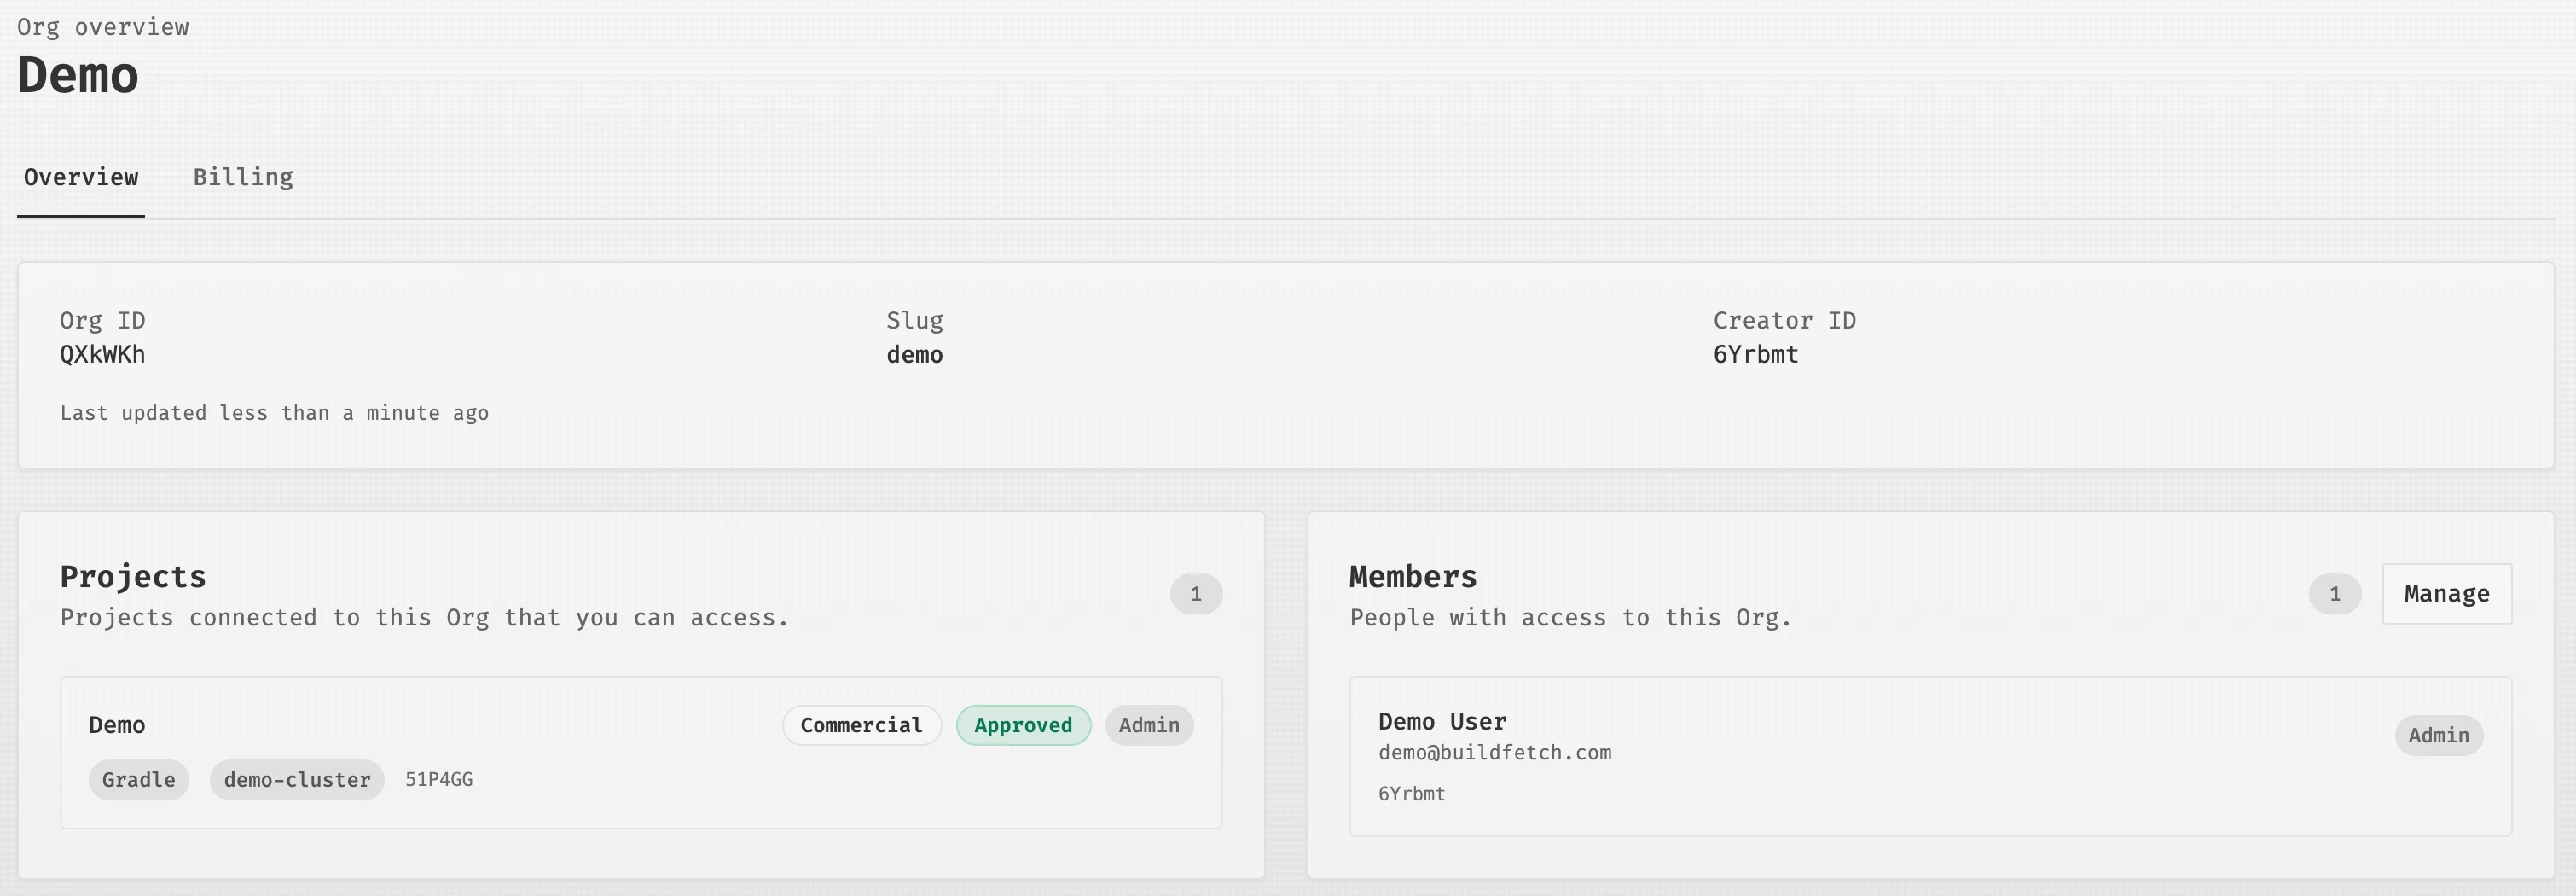 Created Org overview page showing Org details, Projects, and Members
Create BuildFetch Cache Project
Open Projects from the dashboard, then create a Project.
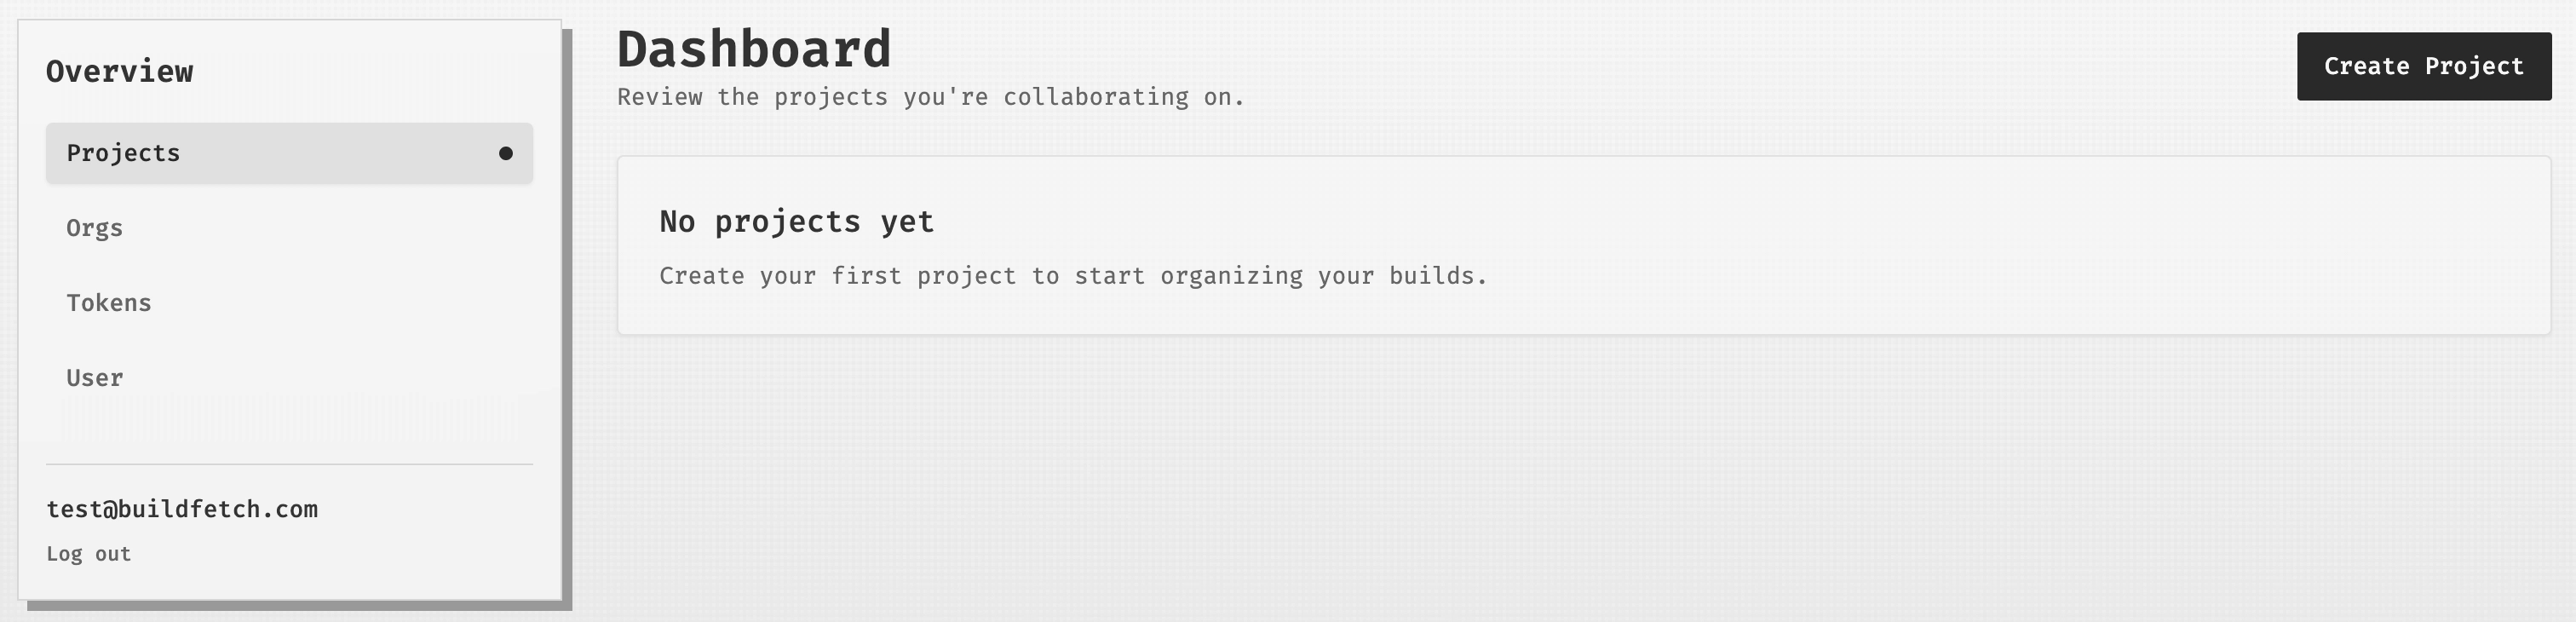 Dashboard Projects page with the Create Project button
Set the Project name, select the Org and plan, then choose the build system, cluster, and storage size.
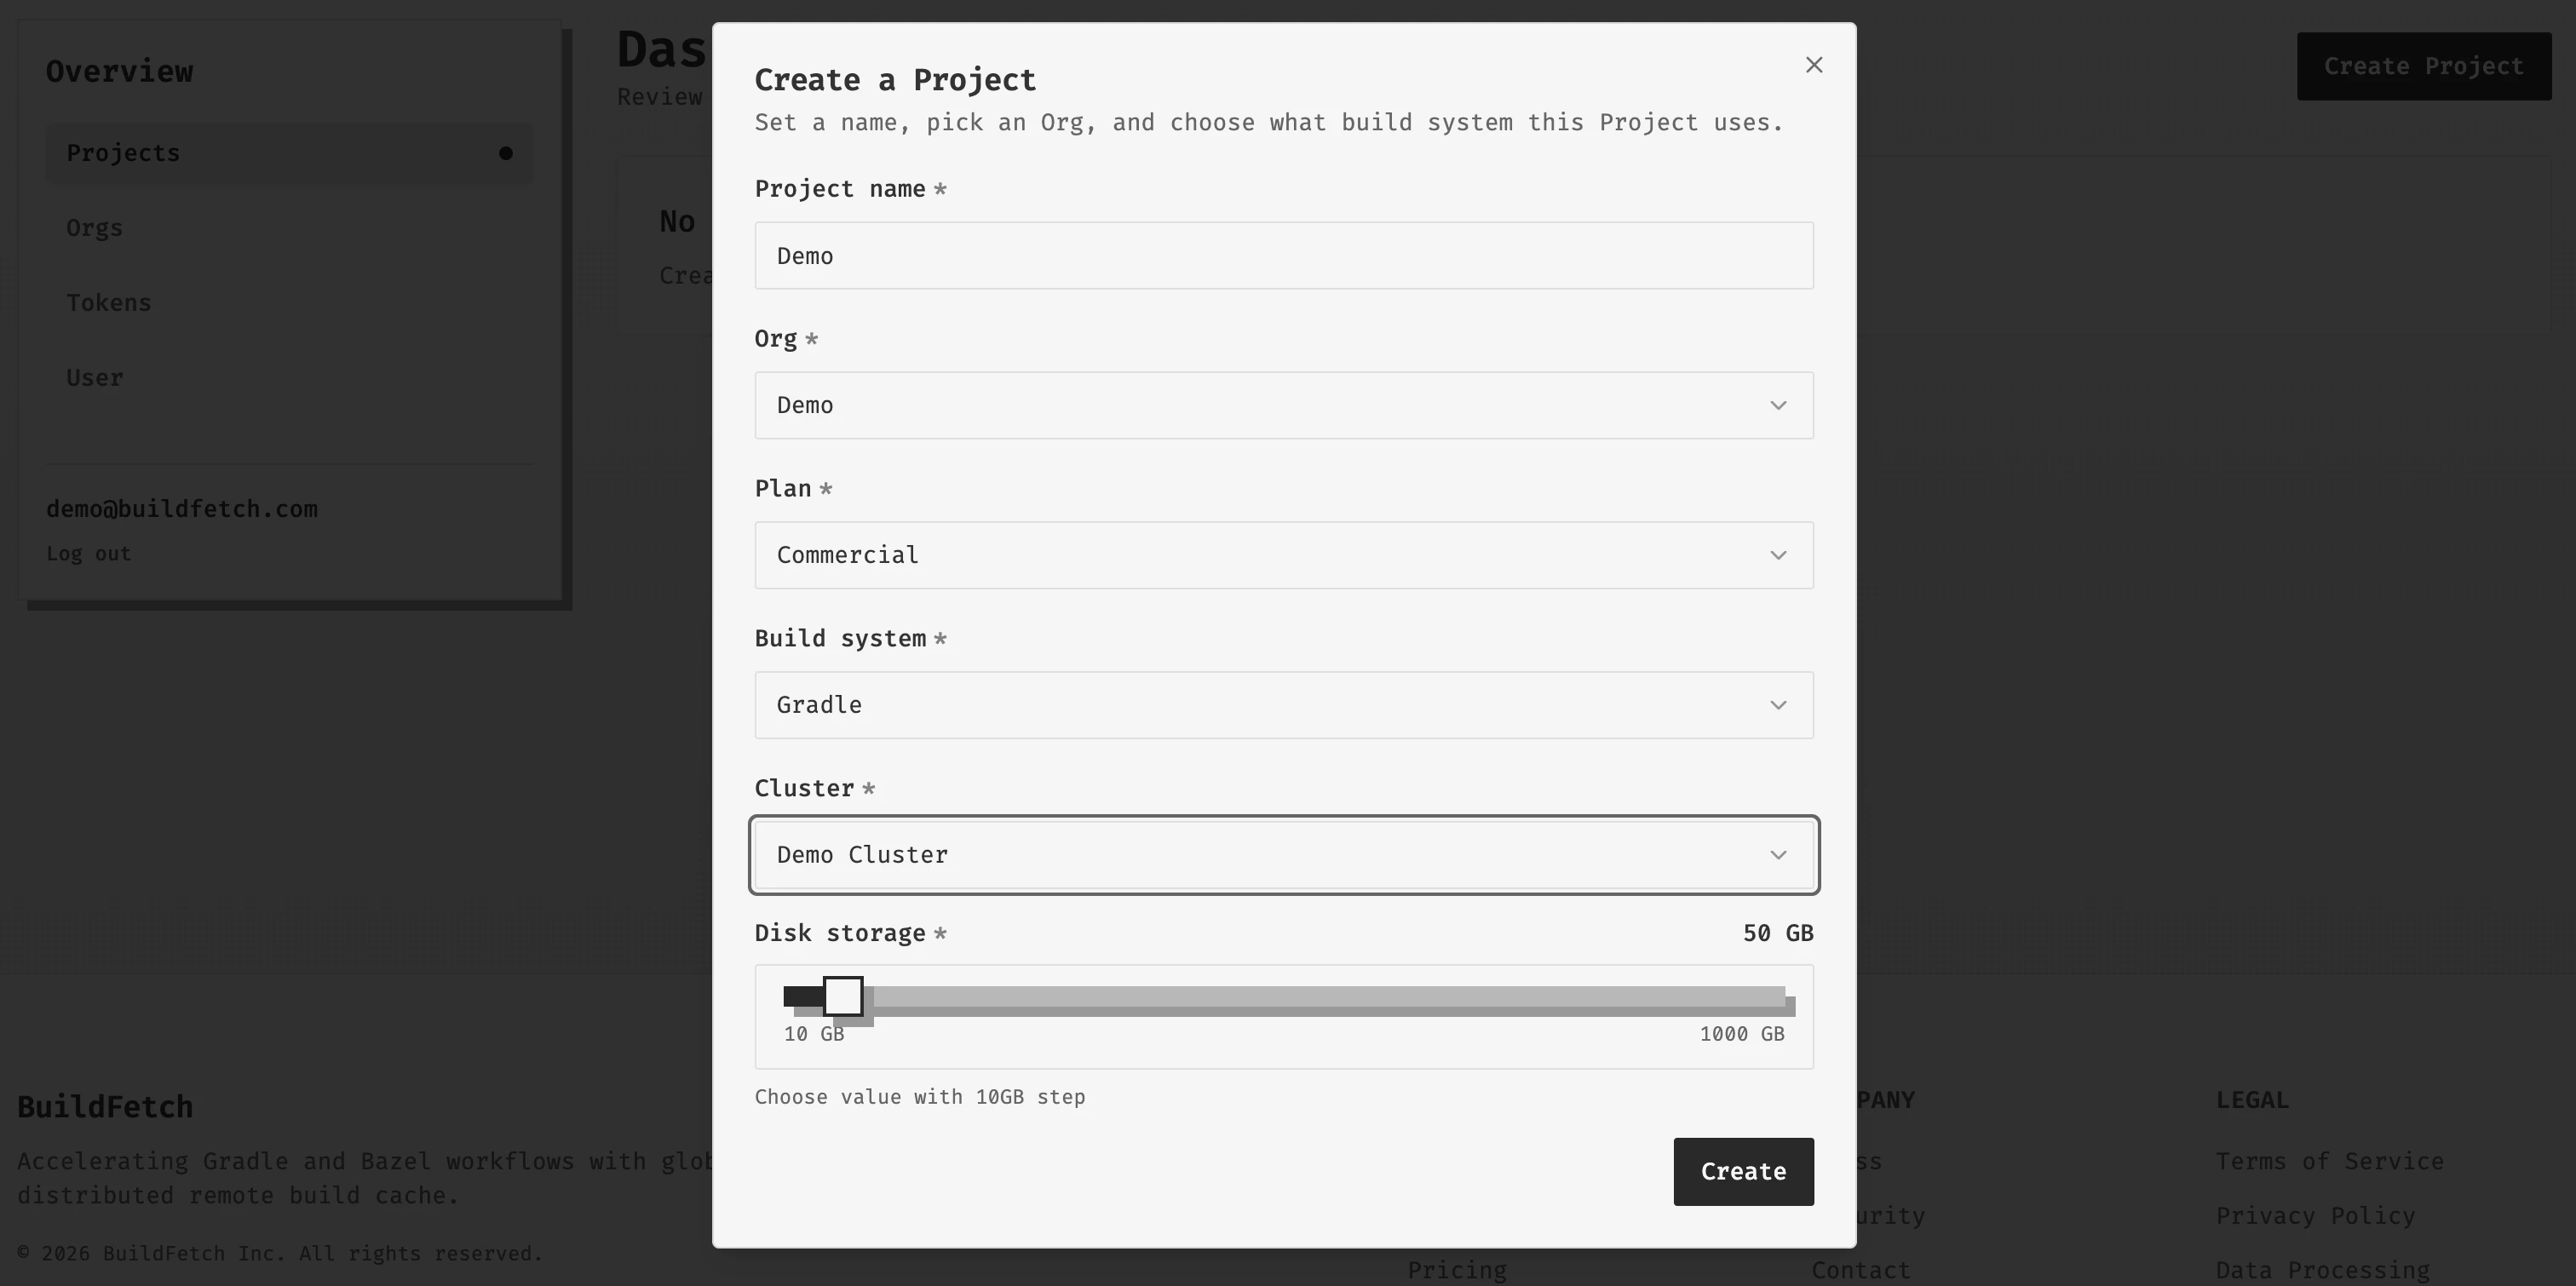 Create BuildFetch Cache Project dialog with Project name, Org, plan, build system, cluster, and storage size fields
The Project overview shows the Project ID, plan type, build system, cluster, and Org ID.
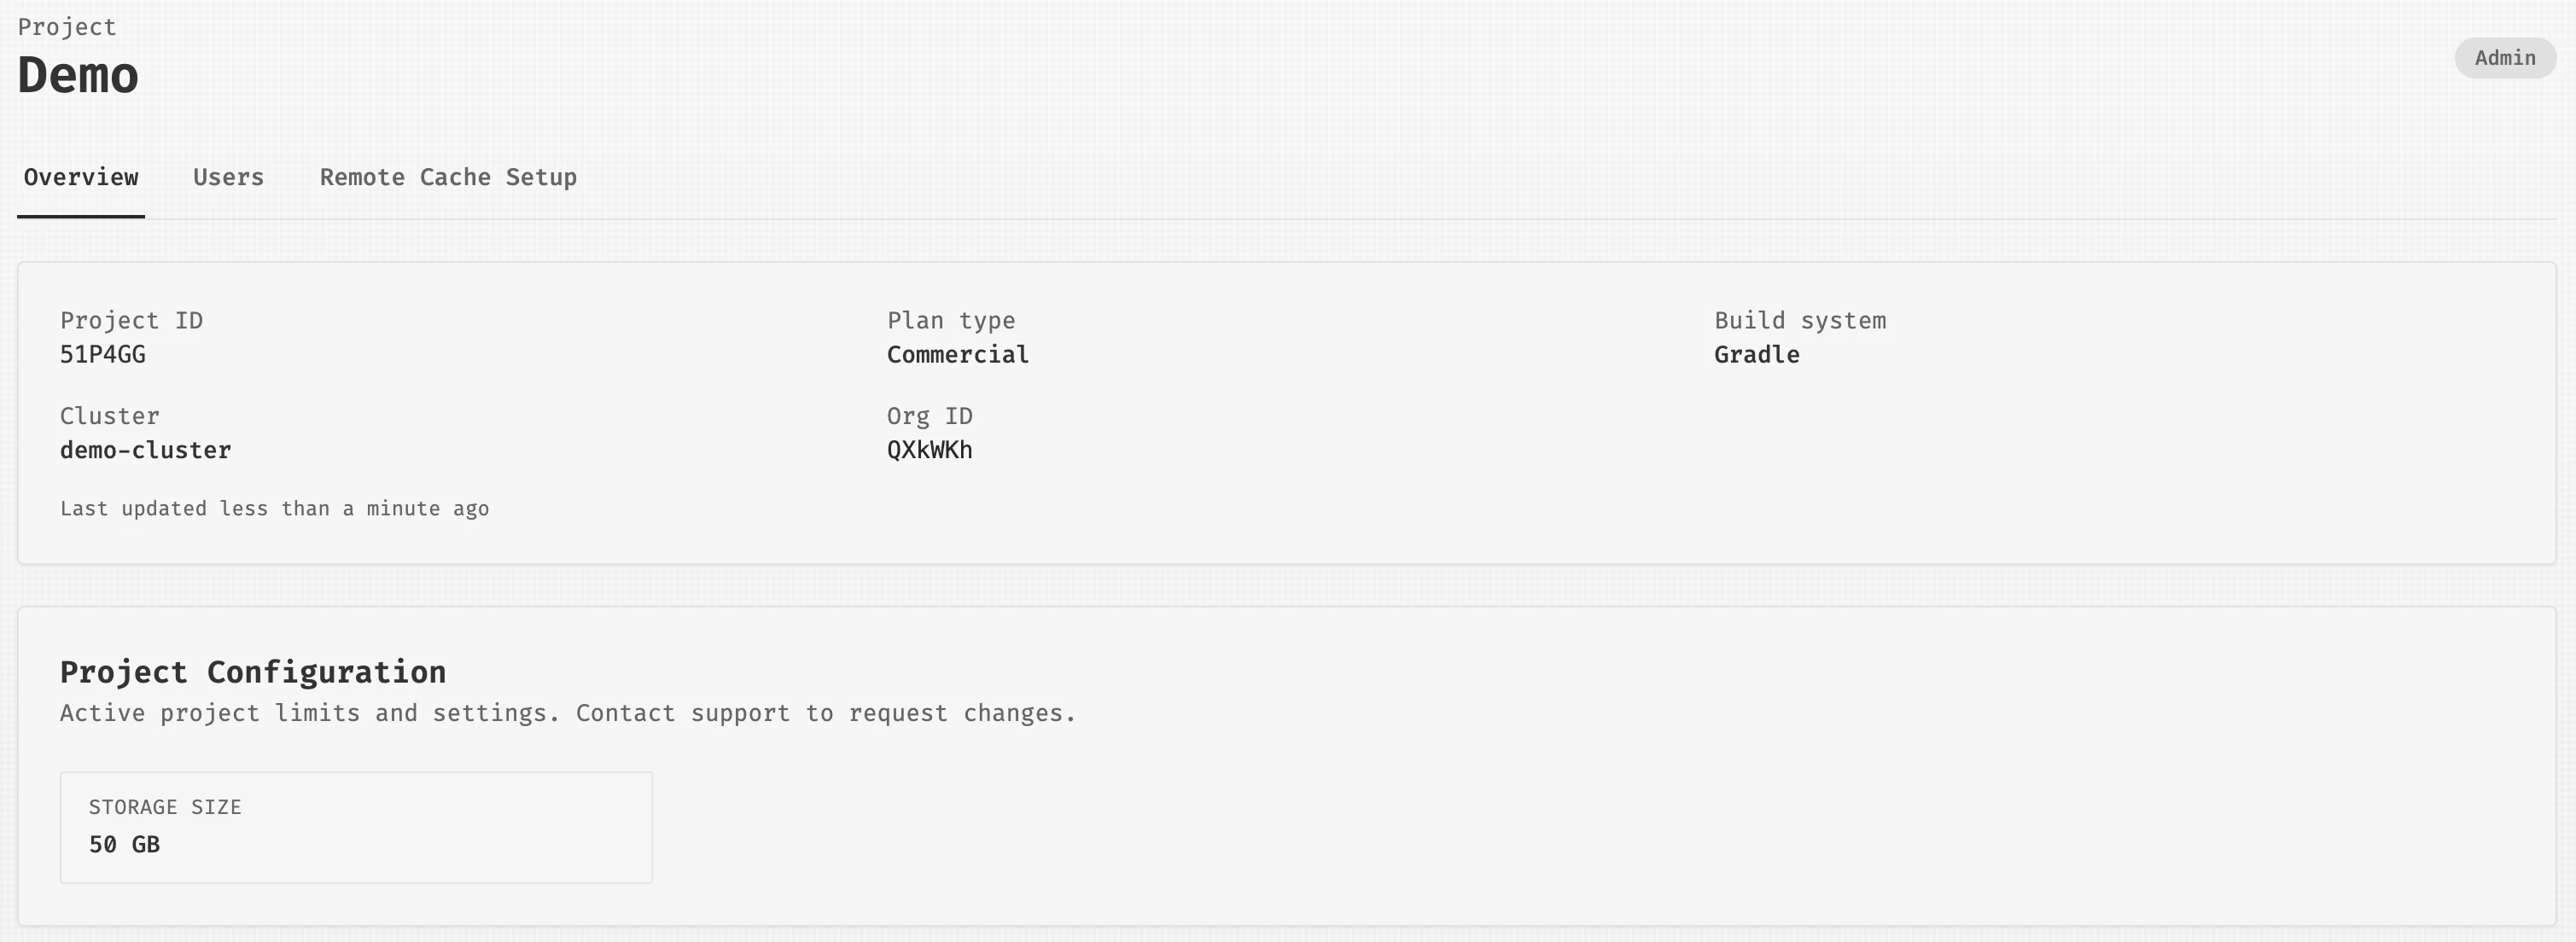 Created Project overview page showing Project details and configuration
Issue a Project Token
Open Tokens from the dashboard, then issue a new Token.
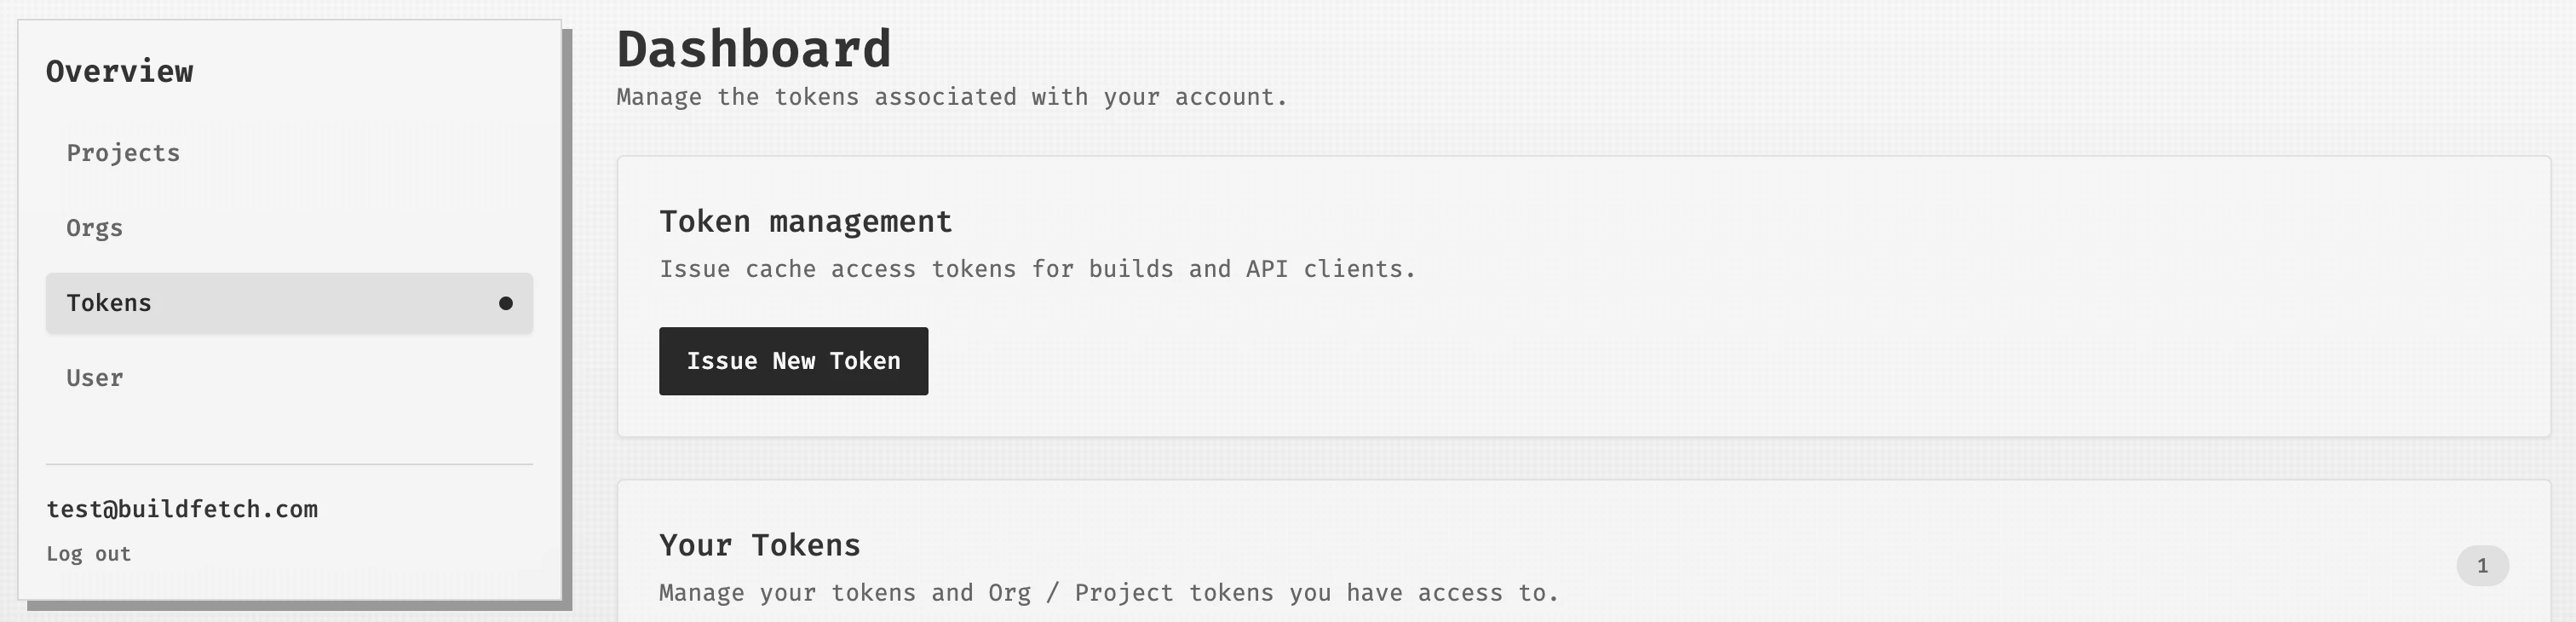 Dashboard Tokens page with the Issue New Token button
Choose Project as the target type, select the Project, name the Token, set its expiration, and choose its scope.
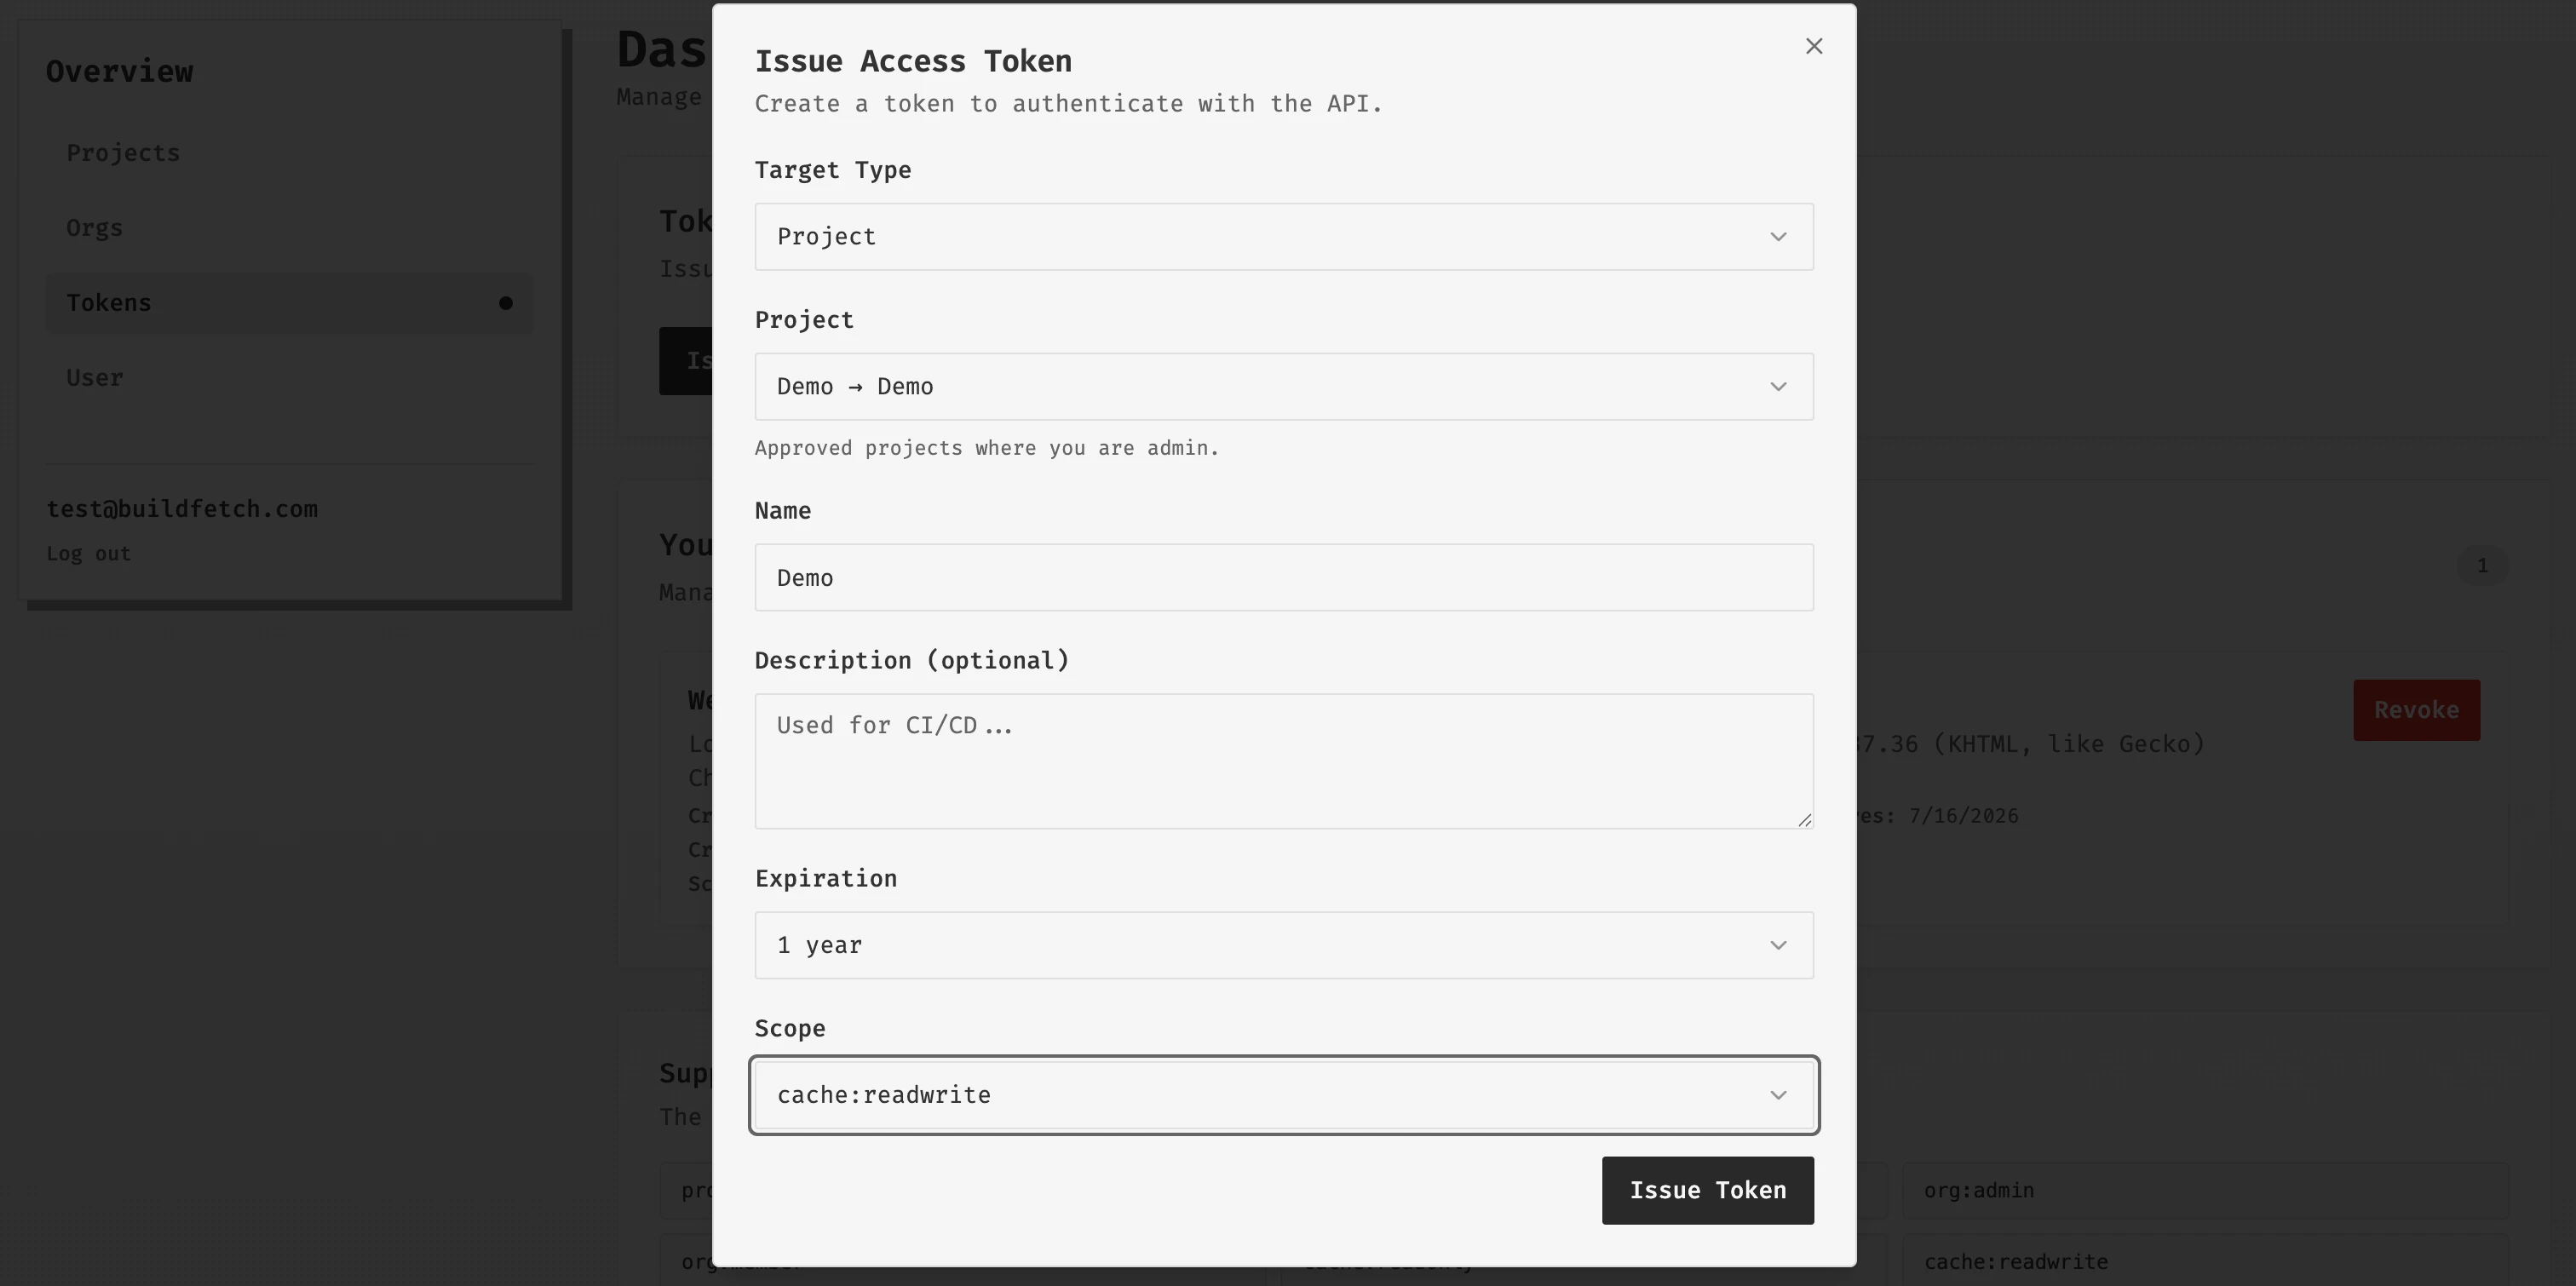 Issue Access Token dialog with Project target, Token name, expiration, and scope fields
Copy the Token immediately after it is issued; it will not be shown again.
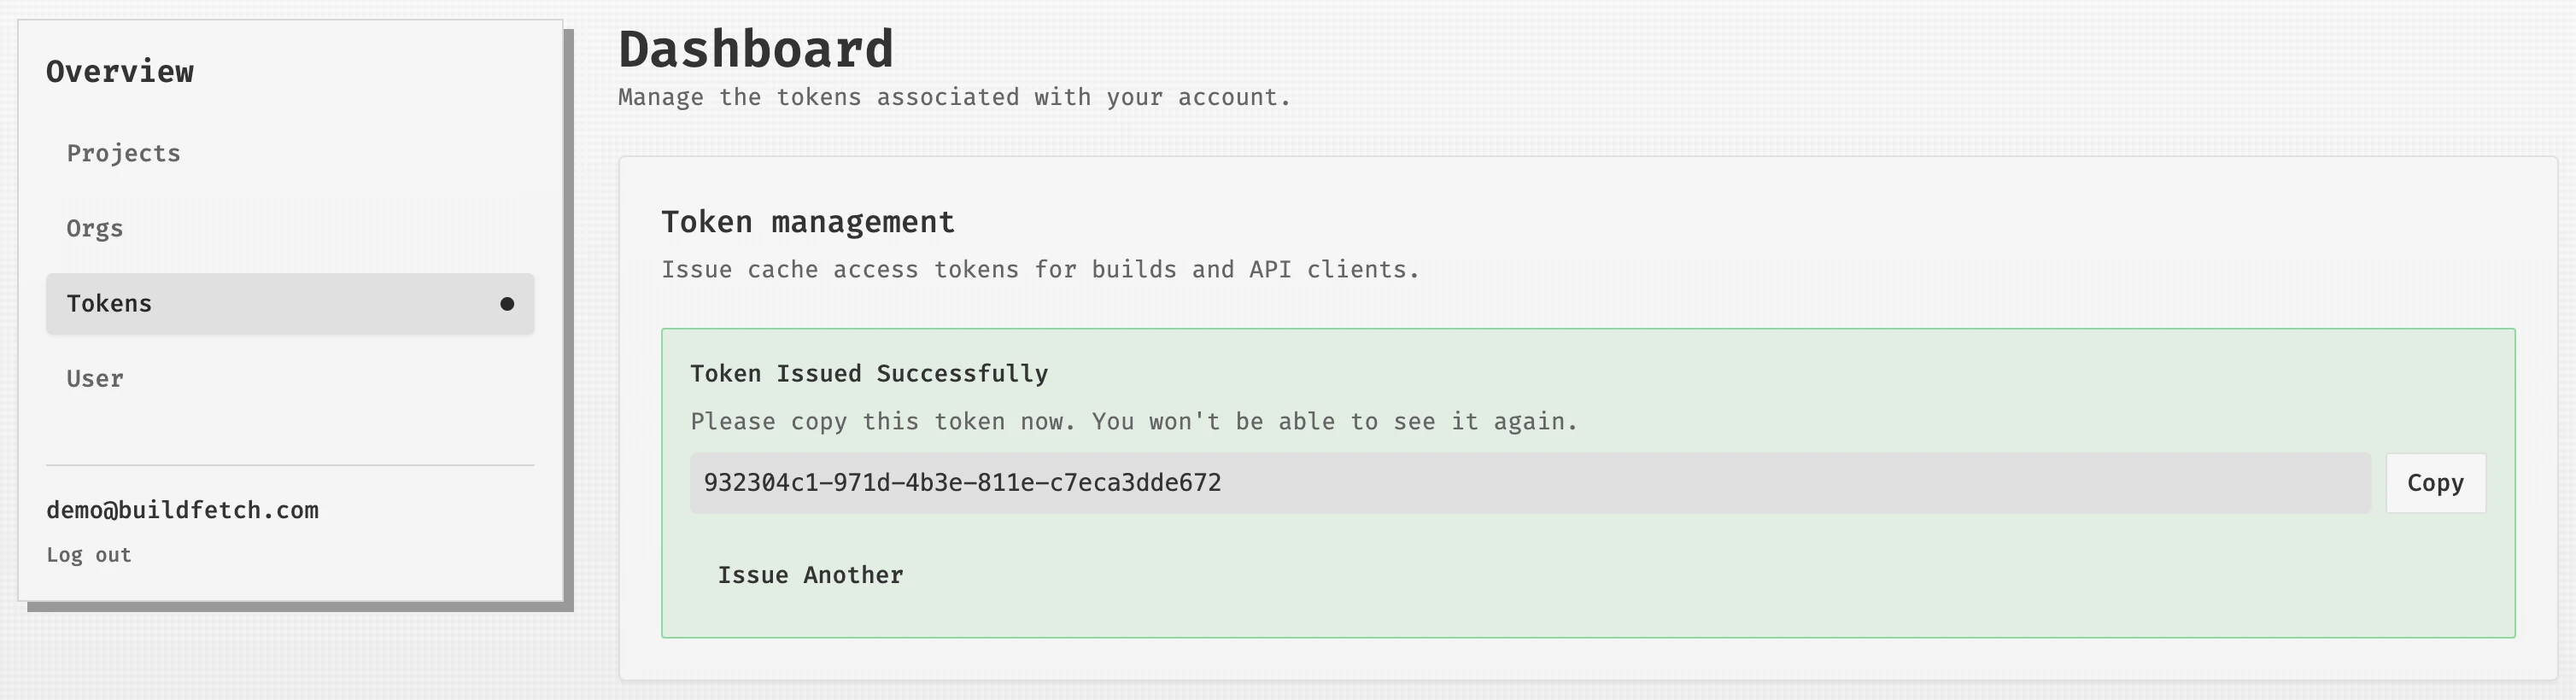 Token management page showing a successfully issued Token with a copy button
Token guidance for CI and developers
For CI, generate a Project Token with cache:readwrite scope. Use this Token in your CI environment so pipelines can read cached artifacts and upload new ones.
For local development, generate a cache:readonly Token. You can issue one shared Token for all developers or create one Token per developer.
Generally, there are two ways to manage developer Tokens:
- For simpler setups, issuing and rotating a single
cache:readonlyToken could be sufficient. - For precise access control, each developer should register in BuildFetch, then issue and rotate their own individual
cache:readonlyToken(s).
Generating cache:readwrite Tokens requires Project/Org Admin scope.
For Open Source Projects, we recommend not storing a cache:readonly Token in publicly accessible code because it could lead to misuse and unintended exhaustion of monthly Project limits.